Migrating to Hetzner with Coolify
What I did
A few weeks ago, I got to watch Jeff Triplett migrate DjangoPackages from DigitalOcean to Hetzner1 using Coolify. The magical world of Coolify made everything look just so ... easy. Jeff mentioned that one of the driving forces for the decision to go to Hetzner was the price, that is Hetzner is cheaper but with the same quality.
Aside
To give some perspective, the table below shows a comparison of what you I had and what I pay(paid) at each VPS
| Server Spec | Digital Ocean Cost | Hetzner Cost | Count |
|---|---|---|---|
| Managed Database with 1GB RAM, 1vCPU | $15.15 | NA | 2 |
| s-1vcpu-2gb | $12 | NA | 1 |
| s-1vcpu-1gb | $6 | NA | 3 |
| cpx11 | NA | $4.99 | 2 |
| cpx21 | NA | $9.99 | 2 |
| cpx31 | NA | $17.99 | 1 |
With Digital Ocean I was paying about $72.50 per month for my servers. This got me 2 Managed Databases (@$15 each) and 4 Ubuntu servers (1 s-1vcpu-2gb and 3 s-1vcpu-1gb).
Based on my maths for January I should see my Hetzner bill be about $61 with the only downside being that I have to 'manage' my databases myself ... however, with Digital Ocean I always felt like I was playing with house money because I didn't have the paid for backups. Now, with Hetzner, I have backups saved to an S3 bucket (and Coolify has amazing docs for how to set this up!)
End Aside
Original State
I had 6 servers on Digital Ocean
- 3 production web servers
- 1 test web server
- 1 managed database production server
- 1 managed database test server
This cost me roughly $75 per month.
Current State
- 2 production web servers
- 1 test web server
- 1 production database server
- 1 test database server
This cost me roughly $63 per month.
Setting Up Hetzner
In order to get this all started I need to create a Hetzner account2. Once I did that I created my first server, a CPX11 so that I could install Coolify.
Next, I need to clean up my DNS records. Over the years I had DNS managed at my registrar of choice (hover.com) and within Digital Ocean. Hetzner has a DNS server, so I decided to move everything there. Once all of my DNS was there, I added a record for my Coolify instance and proceeded with the initial set up.
In all I migrated 9 sites. They can be roughly broken down like this
Coolify: setting up projects, environments, resources
Coolify has several concepts that took a second to click for me
It took me some time reading through the docs but once it clicked I ended up segregating my projects in a way that made sense to me. I also ended up creating 2 environments for each project:
- Production
- UAT
Starting with Nixpacks
Initially I thought that Coolify would only support Docker or docker-compose files, but there is also an option for static sites, and Nixpacks. It turns out that Nixpacks were exactly what I wanted in order to get started.
NB: There is a note on the Nixpacks site that states
"⚠️ Maintenance Mode: This project is currently in maintenance mode and is not under active development. We recommend using Railpack as a replacement."
However, Railpack isn't something that Coolify offered so 🤷🏻♂️
I have a silly Django app called DoesTatisJrHaveAnErrorToday.com3 that seemed like the lowest risk site to start with on this experiment.
Outline of Migration steps
- Allow access to database server from associated Hetzner server, i.e. Production Hetzner server needs to access Production Digital Ocean managed database server, UAT Hetzner Web server needs access to UAT Digital Ocean managed database server
- Set up hetzner.domain.tld in DNS record, for example, hetzner.uat.doestatisjrhaveanerrortoday.com
- Set up site in Coolify in my chosen Project, Environment, and Resource. For me this was Tatis, UAT, "Does Tatis Jr Have An Error UAT"
- Configure the General tab in Coolify. For me this meant just adding an entry to 'Domains' with
https://hetzner.uat.doestatisjrhaveanerrortoday.com - Configure environment variables 4. 5
- Hit Deploy
- Verify everything works
- Update the
General>Domainsentry to havehttps://hetzner.uat.doestatisjrhaveanerrortoday.comandhttps://uat.doestatisjrhaveanerrortoday.com - Update DNS to have UAT point to Hetzner server
- Deploy again
- Wait ... for DNS propagation
- Verify
https://uat.doestatisjrhaveanerrortoday.comworks - Remove
https://hetzner.uat.doestatisjrhaveanerrortoday.comfrom DNS and Coolify - Deploy again
- Verify
https://uat.doestatisjrhaveanerrortoday.comstill works - Remove the GitHub Action I had to deploy to my Digital Ocean UAT server
- Repeat for Production, replacing
https://hetzner.uat.doestatisjrhaveanerrortoday.comwithhttps://hetzner.doestatisjrhaveanerrortoday.com
Repeat the process for each of my other Django sites (all 4 of them)
Switching to Dockerfile/docker-compose.yaml
This worked great, but
- The highest version of Python with Nixpacks is Python 3.13
- The warning message I mentioned above about Nixpacks being in "Maintenance Mode"
Also, I had a Datasette / Django app combination that I wanted to deploy, but couldn't figure out how with NIXPACKS. While the Django App isn't where I want it to be, and I'm pretty sure there's a Datasette plugin that would do most of what the Django app does, I liked the way it was set up and wanted to keep it!
Writing the Dockerfile and docker-compose.yaml files
I utilized Claude to assist with starting me off on my Dockerfile and docker-compose.yaml files. This made migrating off of the NIXPACK a bit easier than I thought it would be.
I was able to get all of my Django and Datasette apps onto a Dockerfile configuration but there was one site I have that scrape game data from TheAHL.com which has an accompanying Django app that required a docker-compose.yaml file to get set up6.
One gotcha I discovered was that the Coolify UI seems to indicate that you can declare your docker-compose file with any name, but my experience was that it expected the file to be called docker-compose.yaml not docker-compose.yml which did lead to a bit more time troubleshooting that I would have liked!
Upgrading all the things
OK, now with everything running from Docker I set about upgrading all of my Python versions to Python 3.14. This proved to be relatively easy for the Django apps, and a bit more complicated with the Datasette apps, but only because of a decision I had made at some point to pin to an alpha version 1.0 of Datasette. Once I discovered the underlying issue and resolved it, again, a walk in the park to upgrade.
Once I was on Python 3.14 it was another relatively straight forward task to upgrade all of my apps to Django 6.0. Honestly, Docker just feels like magic given what I was doing before and just how worried I'd get when trying to upgrade my Python versions or my Django versions.
Migrating database servers
Now I've been able to wind down all of my Web Servers, the only thing left is my managed database servers. In order to get them set up I set up pgadmin (with the help of Coolify) so that I didn't have to drop into psql in the terminal on the servers I was going to use for my database servers.
Once that was done I created backups of each database from Production and UAT on my MacBook so that I could restore them to the new Hetzner servers. To get the backup I ran this
docker run --rm postgres:17 pg_dump "postgresql://doadmin:password@host:port/database?sslmode=require" -F c --no-owner --no-privileges > database.dump
I did this for each of my 4 databases. Why did I use the docker run --rm postgres:17 pg_dump instead of just pg_dump? Because my MacBook had Postgres 16 while the server was on Postgres 17 and this was easier than upgrading my local Postgres instance.
Starting with UAT
I started with my test servers first so I could break things and have it not matter. I used my least risky site (tatis) first.
The steps I used were:
- Create database on Hetzner UAT database server
- Restore from UAT on Digital Ocean
- Repeat for each database
- Open up access to Hetzner database server for Hetzner UAT web server
- Change connection string for
DATABASE_URLfor tatis to point to Hetzner server in my environment variables - Deploy UAT site
- Verify change works
- Drop database from UAT Digital Ocean database server
- Verify site still runs
- Repeat for each Django app on UAT
- Allow access to Digital Ocean server from only my IP address
- Verify everything still works
- Destroy UAT managed database server
- Repeat for prod
For the 8 sites / databases this took about 1 hour. Which, given how much needed to be done was a pretty quick turn around. That being said, I spent probably 2.5 hours planning it out to make sure that I had everything set up and didn't break anything, even on my test servers.
Backups
One thing about the Digital Ocean managed servers is that backups were an extra fee. I did not pay for the backups. This was a mistake ... I should have, and it always freaked me out that I didn't have them enabled. Even though these are essentially hobby projects, when you don't do the right thing you know it.
Now that I'm on non-managed servers I decided to fix that, and it turns out that Coolify has a really great tutorial on how to set up an AWS S3 bucket to have your database backups written to.
It was so easy I was able to set up the backups for each of my databases with no fuss.
Coolify dashboard thing
I mentioned above that I upgraded all of apps to Python 3.14 and Django versions to 6.0. For all of the great things about Coolify, trying to find this information out on a high level is a pain in the ass. Luckily they have a fairly robust API that allowed me to vibe code a script that would output an HTML file that showed me everything I needed to know about my Applications with respect to Python, Django, and Datasette versions. It also helped me know about my database backup setups as well7!
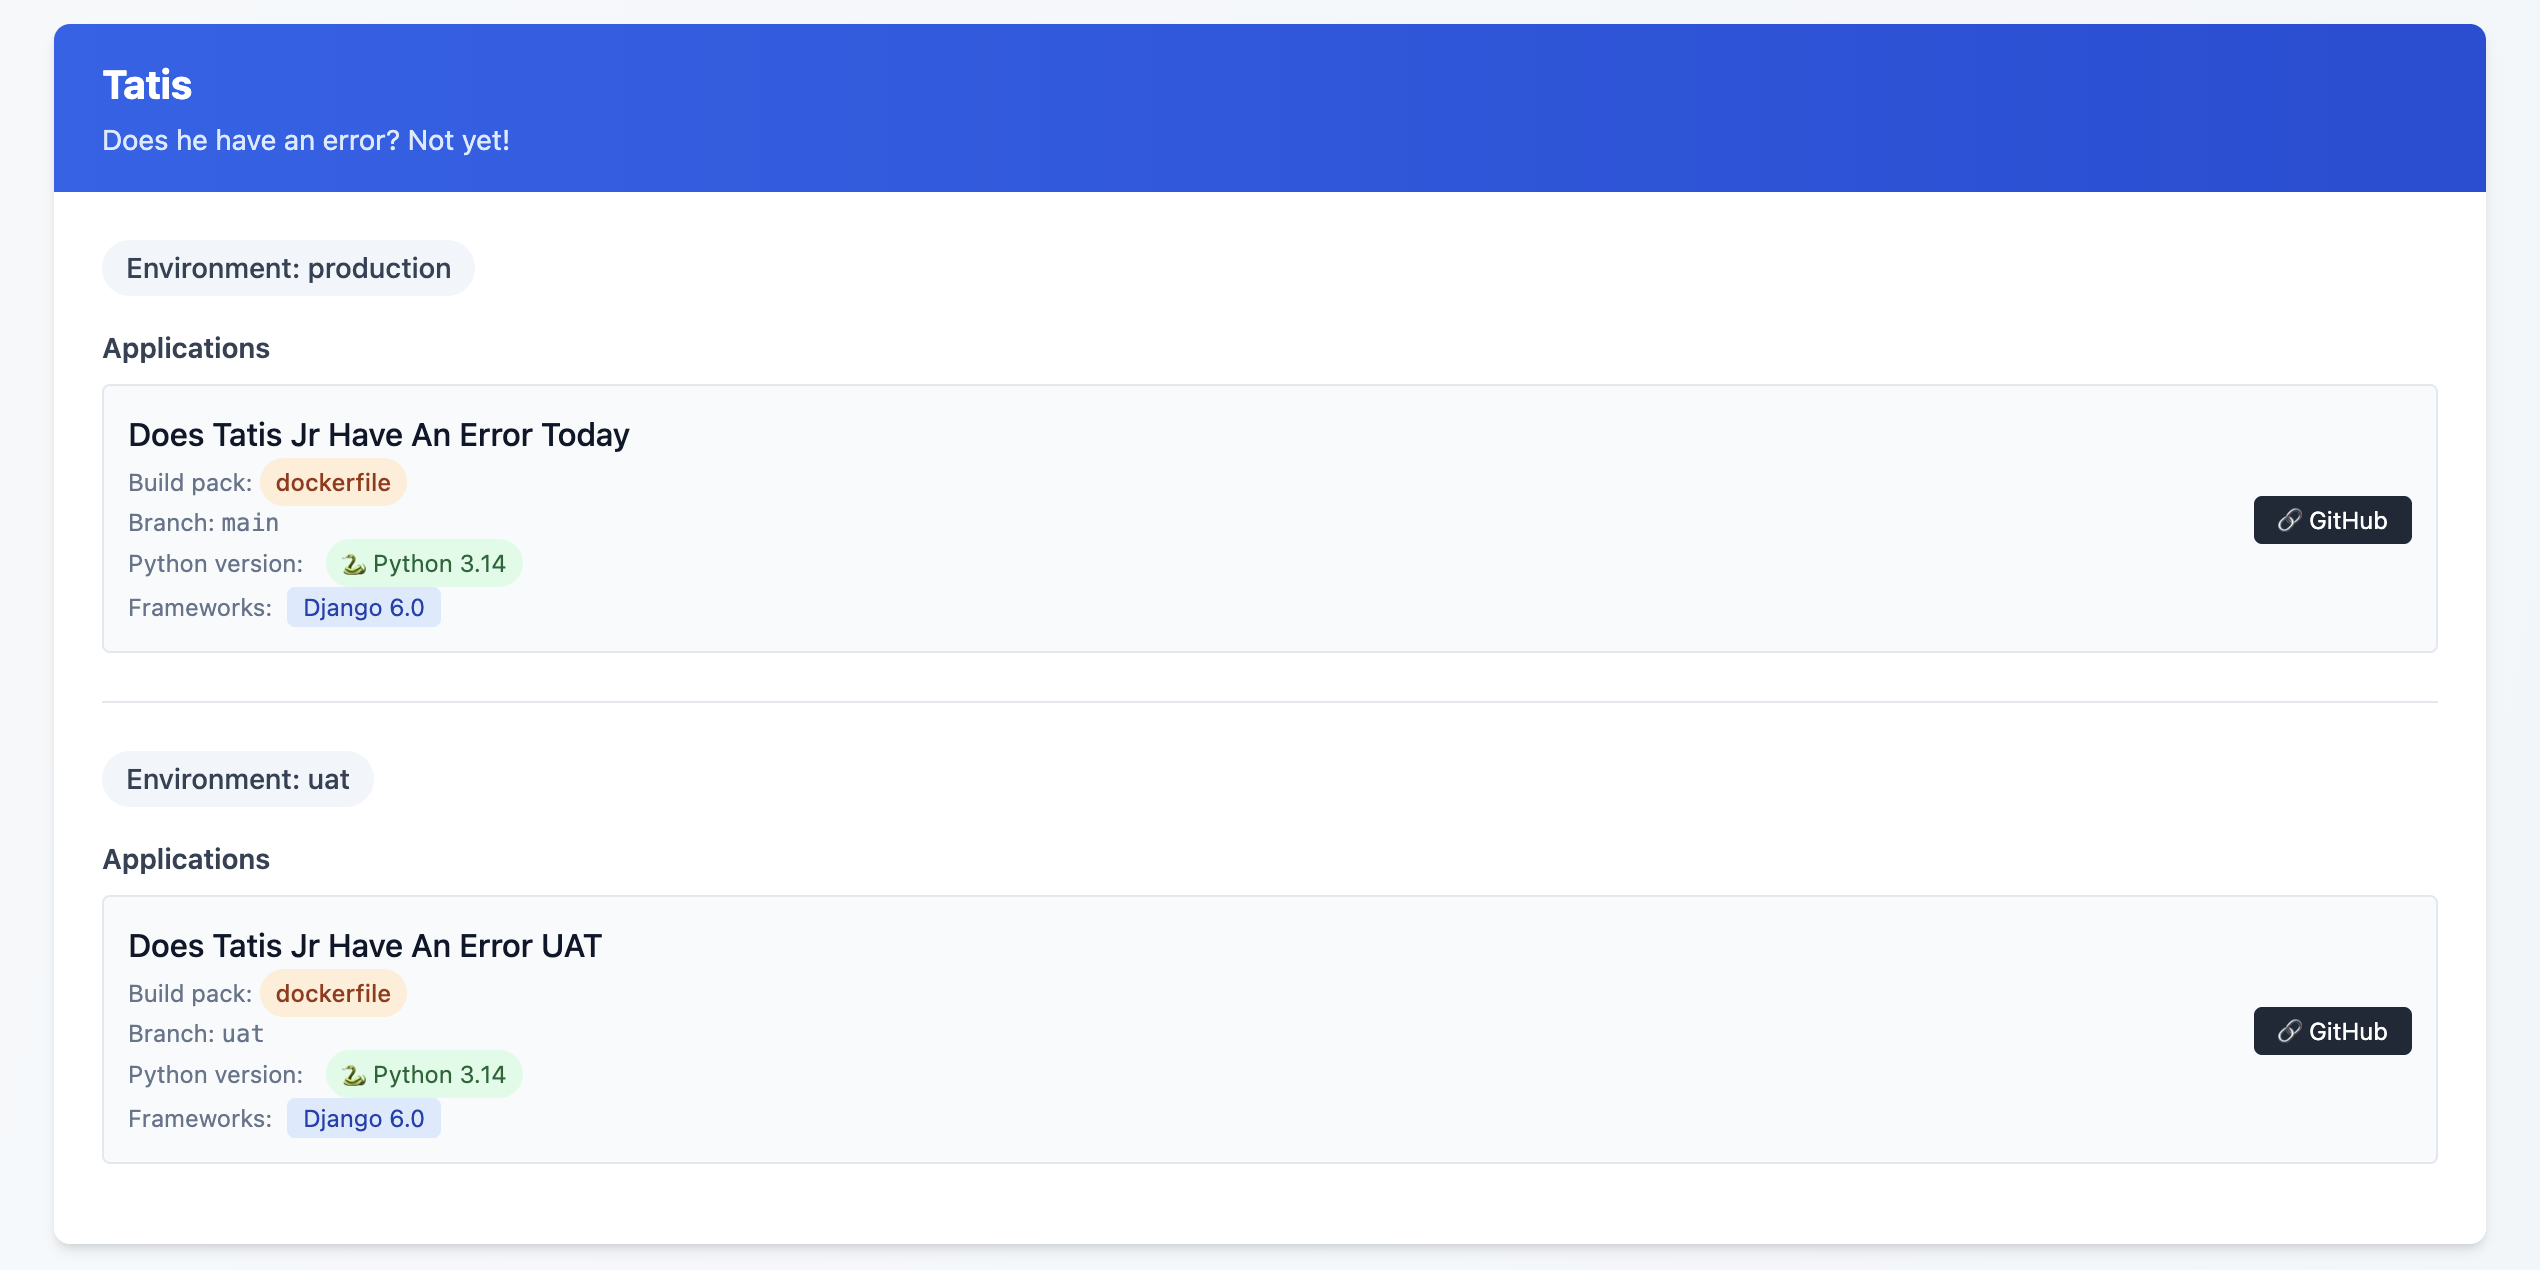
This is an example of the final state, but what I saw was some Sites on Django 4.2, others on Python 3.10 and ... yeah, it was a mess!
I might release this as a package or something at some point, but I'm not sure that anyone other than me would want to use it so, 🤷♂️
What this allows me to do now
One of the great features of Coolify are Preview Deployments which I've been able to implement relatively easily8. This allows me to be pretty confident that what I've done will work out OK. Even with a UAT server, sometimes just having that extra bit of security feels ... nice.
One thing I did (because I could, not because I needed to!) was to have a PR specific database on my UAT database server. Each database is called {project}_pr and is a full copy of my UAT database server. I have a cron job set up that restores these databases each night.
I used Claude to help generate the shell script below:
#!/bin/bash

# Usage: ./copy_db.sh source_db container_id [target_db]
# If target_db is not provided, it will be source_db_pr

source_db="$1"
container_id="$2"
target_db="$3"

# Validate required parameters
if [ -z "$source_db" ]; then
    echo "Error: Source database name required"
    echo "Usage: $0 source_db container_id [target_db]"
    exit 1
fi

if [ -z "$container_id" ]; then
    echo "Error: Container ID required"
    echo "Usage: $0 source_db container_id [target_db]"
    exit 1
fi

# Set default target_db if not provided
if [ -z "$target_db" ]; then
    target_db="${source_db}_pr"
fi

# Dynamic log filename
log_file="${source_db}_copy.log"

# Function to log with timestamp
log_message() {
    echo "$(date '+%Y-%m-%d %H:%M:%S') - $*" | tee -a "$log_file"
}

log_message "Starting database copy: $source_db -> $target_db"
log_message "Container: $container_id"

# Drop existing target database
log_message "Dropping database $target_db if it exists..."
if docker exec "$container_id" psql -U postgres -c "DROP DATABASE IF EXISTS $target_db;" >> "$log_file" 2>&1; then
    log_message "✓ Successfully dropped $target_db"
else
    log_message "✗ Failed to drop $target_db"
    exit 1
fi

# Create new target database
log_message "Creating database $target_db..."
if docker exec "$container_id" psql -U postgres -c "CREATE DATABASE $target_db;" >> "$log_file" 2>&1; then
    log_message "✓ Successfully created $target_db"
else
    log_message "✗ Failed to create $target_db"
    exit 1
fi

# Copy database using pg_dump
log_message "Copying data from $source_db to $target_db..."
if docker exec "$container_id" sh -c "pg_dump -U postgres $source_db | psql -U postgres $target_db" >> "$log_file" 2>&1; then
    log_message "✓ Successfully copied database"
else
    log_message "✗ Failed to copy database"
    exit 1
fi

log_message "Database copy completed successfully"
log_message "Log file: $log_file"
Again, is this strictly necessary? Not really. Did I do it anyway just because? Yes!
Was it worth it
Hell yes!
It took time. I'd estimate about 3 hours per Django site, and 1.5 hours per non-Django site. I'm happy with my backup strategy, and preview deployments are just so cool. I did this mostly over the Christmas / New Year holiday as I fought through a cold.
Another benefit of being on Coolify is that I'm able to run
What's next?
Getting everything set up to be mostly consistent is great, but there are still some differences that exist between each Django site that don't need to when it comes to the Dockerfile that each site is using.
I also see the potential to have better alignment on the use of my third party packages. Sometimes I chose package X because that's what I knew about at the time, and then I discovered package Y but never went back and switched it out where I was using package X before.
Finally, I really want to figure out the issue of https on some of the preview deployments.
- This is an affiliate link ↩︎
- This is an affiliate link ↩︎
- More details on why I have this site here ↩︎
- Considerations for Nixpacks. The default version of Python for Nixpacks is 3.11. You can override this with an environment variable
NIXPACKS_PYTHON_VERSIONto allow up to Python 3.13. ↩︎ - Here, you need to make sure that your ALLOWED_HOSTS is
hetzner.uat.doestatisjrhaveanerrortoday.com↩︎ - Do I need this set up? Probably not. I'm pretty sure there's a Datasette plugin that does allow for edits in the SQLite database, but this was more of a Can I do this, not I need to do this kind of thing ↩︎
- There are a few missing endpoints, specifically when it comes to Service database details ↩︎
- one of my sites doesn't like serving up the deployment preview with SSL, but I'm working on that! ↩︎