Migrating to Hetzner with Coolify
What I did
A few weeks ago, I got to watch Jeff Triplett migrate DjangoPackages from DigitalOcean to Hetzner1 using Coolify. The magical world of Coolify made everything look just so ... easy. Jeff mentioned that one of the driving forces for the decision to go to Hetzner was the price, that is Hetzner is cheaper but with the same quality.
Aside
To give some perspective, the table below shows a comparison of what you I had and what I pay(paid) at each VPS
| Server Spec | Digital Ocean Cost | Hetzner Cost | Count |
|---|---|---|---|
| Managed Database with 1GB RAM, 1vCPU | $15.15 | NA | 2 |
| s-1vcpu-2gb | $12 | NA | 1 |
| s-1vcpu-1gb | $6 | NA | 3 |
| cpx11 | NA | $4.99 | 2 |
| cpx21 | NA | $9.99 | 2 |
| cpx31 | NA | $17.99 | 1 |
With Digital Ocean I was paying about $72.50 per month for my servers. This got me 2 Managed Databases (@$15 each) and 4 Ubuntu servers (1 s-1vcpu-2gb and 3 s-1vcpu-1gb).
Based on my maths for January I should see my Hetzner bill be about $61 with the only downside being that I have to 'manage' my databases myself ... however, with Digital Ocean I always felt like I was playing with house money because I didn't have the paid for backups. Now, with Hetzner, I have backups saved to an S3 bucket (and Coolify has amazing docs for how to set this up!)
End Aside
Original State
I had 6 servers on Digital Ocean
- 3 production web servers
- 1 test web server
- 1 managed database production server
- 1 managed database test server
This cost me roughly $75 per month.
Current State
- 2 production web servers
- 1 test web server
- 1 production database server
- 1 test database server
This cost me roughly $63 per month.
Setting Up Hetzner
In order to get this all started I need to create a Hetzner account2. Once I did that I created my first server, a CPX11 so that I could install Coolify.
Next, I need to clean up my DNS records. Over the years I had DNS managed at my registrar of choice (hover.com) and within Digital Ocean. Hetzner has a DNS server, so I decided to move everything there. Once all of my DNS was there, I added a record for my Coolify instance and proceeded with the initial set up.
In all I migrated 9 sites. They can be roughly broken down like this
Coolify: setting up projects, environments, resources
Coolify has several concepts that took a second to click for me
It took me some time reading through the docs but once it clicked I ended up segregating my projects in a way that made sense to me. I also ended up creating 2 environments for each project:
- Production
- UAT
Starting with Nixpacks
Initially I thought that Coolify would only support Docker or docker-compose files, but there is also an option for static sites, and Nixpacks. It turns out that Nixpacks were exactly what I wanted in order to get started.
NB: There is a note on the Nixpacks site that states
"⚠️ Maintenance Mode: This project is currently in maintenance mode and is not under active development. We recommend using Railpack as a replacement."
However, Railpack isn't something that Coolify offered so 🤷🏻♂️
I have a silly Django app called DoesTatisJrHaveAnErrorToday.com3 that seemed like the lowest risk site to start with on this experiment.
Outline of Migration steps
- Allow access to database server from associated Hetzner server, i.e. Production Hetzner server needs to access Production Digital Ocean managed database server, UAT Hetzner Web server needs access to UAT Digital Ocean managed database server
- Set up hetzner.domain.tld in DNS record, for example, hetzner.uat.doestatisjrhaveanerrortoday.com
- Set up site in Coolify in my chosen Project, Environment, and Resource. For me this was Tatis, UAT, "Does Tatis Jr Have An Error UAT"
- Configure the General tab in Coolify. For me this meant just adding an entry to 'Domains' with
https://hetzner.uat.doestatisjrhaveanerrortoday.com - Configure environment variables 4. 5
- Hit Deploy
- Verify everything works
- Update the
General>Domainsentry to havehttps://hetzner.uat.doestatisjrhaveanerrortoday.comandhttps://uat.doestatisjrhaveanerrortoday.com - Update DNS to have UAT point to Hetzner server
- Deploy again
- Wait ... for DNS propagation
- Verify
https://uat.doestatisjrhaveanerrortoday.comworks - Remove
https://hetzner.uat.doestatisjrhaveanerrortoday.comfrom DNS and Coolify - Deploy again
- Verify
https://uat.doestatisjrhaveanerrortoday.comstill works - Remove the GitHub Action I had to deploy to my Digital Ocean UAT server
- Repeat for Production, replacing
https://hetzner.uat.doestatisjrhaveanerrortoday.comwithhttps://hetzner.doestatisjrhaveanerrortoday.com
Repeat the process for each of my other Django sites (all 4 of them)
Switching to Dockerfile/docker-compose.yaml
This worked great, but
- The highest version of Python with Nixpacks is Python 3.13
- The warning message I mentioned above about Nixpacks being in "Maintenance Mode"
Also, I had a Datasette / Django app combination that I wanted to deploy, but couldn't figure out how with NIXPACKS. While the Django App isn't where I want it to be, and I'm pretty sure there's a Datasette plugin that would do most of what the Django app does, I liked the way it was set up and wanted to keep it!
Writing the Dockerfile and docker-compose.yaml files
I utilized Claude to assist with starting me off on my Dockerfile and docker-compose.yaml files. This made migrating off of the NIXPACK a bit easier than I thought it would be.
I was able to get all of my Django and Datasette apps onto a Dockerfile configuration but there was one site I have that scrape game data from TheAHL.com which has an accompanying Django app that required a docker-compose.yaml file to get set up6.
One gotcha I discovered was that the Coolify UI seems to indicate that you can declare your docker-compose file with any name, but my experience was that it expected the file to be called docker-compose.yaml not docker-compose.yml which did lead to a bit more time troubleshooting that I would have liked!
Upgrading all the things
OK, now with everything running from Docker I set about upgrading all of my Python versions to Python 3.14. This proved to be relatively easy for the Django apps, and a bit more complicated with the Datasette apps, but only because of a decision I had made at some point to pin to an alpha version 1.0 of Datasette. Once I discovered the underlying issue and resolved it, again, a walk in the park to upgrade.
Once I was on Python 3.14 it was another relatively straight forward task to upgrade all of my apps to Django 6.0. Honestly, Docker just feels like magic given what I was doing before and just how worried I'd get when trying to upgrade my Python versions or my Django versions.
Migrating database servers
Now I've been able to wind down all of my Web Servers, the only thing left is my managed database servers. In order to get them set up I set up pgadmin (with the help of Coolify) so that I didn't have to drop into psql in the terminal on the servers I was going to use for my database servers.
Once that was done I created backups of each database from Production and UAT on my MacBook so that I could restore them to the new Hetzner servers. To get the backup I ran this
docker run --rm postgres:17 pg_dump "postgresql://doadmin:password@host:port/database?sslmode=require" -F c --no-owner --no-privileges > database.dump
I did this for each of my 4 databases. Why did I use the docker run --rm postgres:17 pg_dump instead of just pg_dump? Because my MacBook had Postgres 16 while the server was on Postgres 17 and this was easier than upgrading my local Postgres instance.
Starting with UAT
I started with my test servers first so I could break things and have it not matter. I used my least risky site (tatis) first.
The steps I used were:
- Create database on Hetzner UAT database server
- Restore from UAT on Digital Ocean
- Repeat for each database
- Open up access to Hetzner database server for Hetzner UAT web server
- Change connection string for
DATABASE_URLfor tatis to point to Hetzner server in my environment variables - Deploy UAT site
- Verify change works
- Drop database from UAT Digital Ocean database server
- Verify site still runs
- Repeat for each Django app on UAT
- Allow access to Digital Ocean server from only my IP address
- Verify everything still works
- Destroy UAT managed database server
- Repeat for prod
For the 8 sites / databases this took about 1 hour. Which, given how much needed to be done was a pretty quick turn around. That being said, I spent probably 2.5 hours planning it out to make sure that I had everything set up and didn't break anything, even on my test servers.
Backups
One thing about the Digital Ocean managed servers is that backups were an extra fee. I did not pay for the backups. This was a mistake ... I should have, and it always freaked me out that I didn't have them enabled. Even though these are essentially hobby projects, when you don't do the right thing you know it.
Now that I'm on non-managed servers I decided to fix that, and it turns out that Coolify has a really great tutorial on how to set up an AWS S3 bucket to have your database backups written to.
It was so easy I was able to set up the backups for each of my databases with no fuss.
Coolify dashboard thing
I mentioned above that I upgraded all of apps to Python 3.14 and Django versions to 6.0. For all of the great things about Coolify, trying to find this information out on a high level is a pain in the ass. Luckily they have a fairly robust API that allowed me to vibe code a script that would output an HTML file that showed me everything I needed to know about my Applications with respect to Python, Django, and Datasette versions. It also helped me know about my database backup setups as well7!
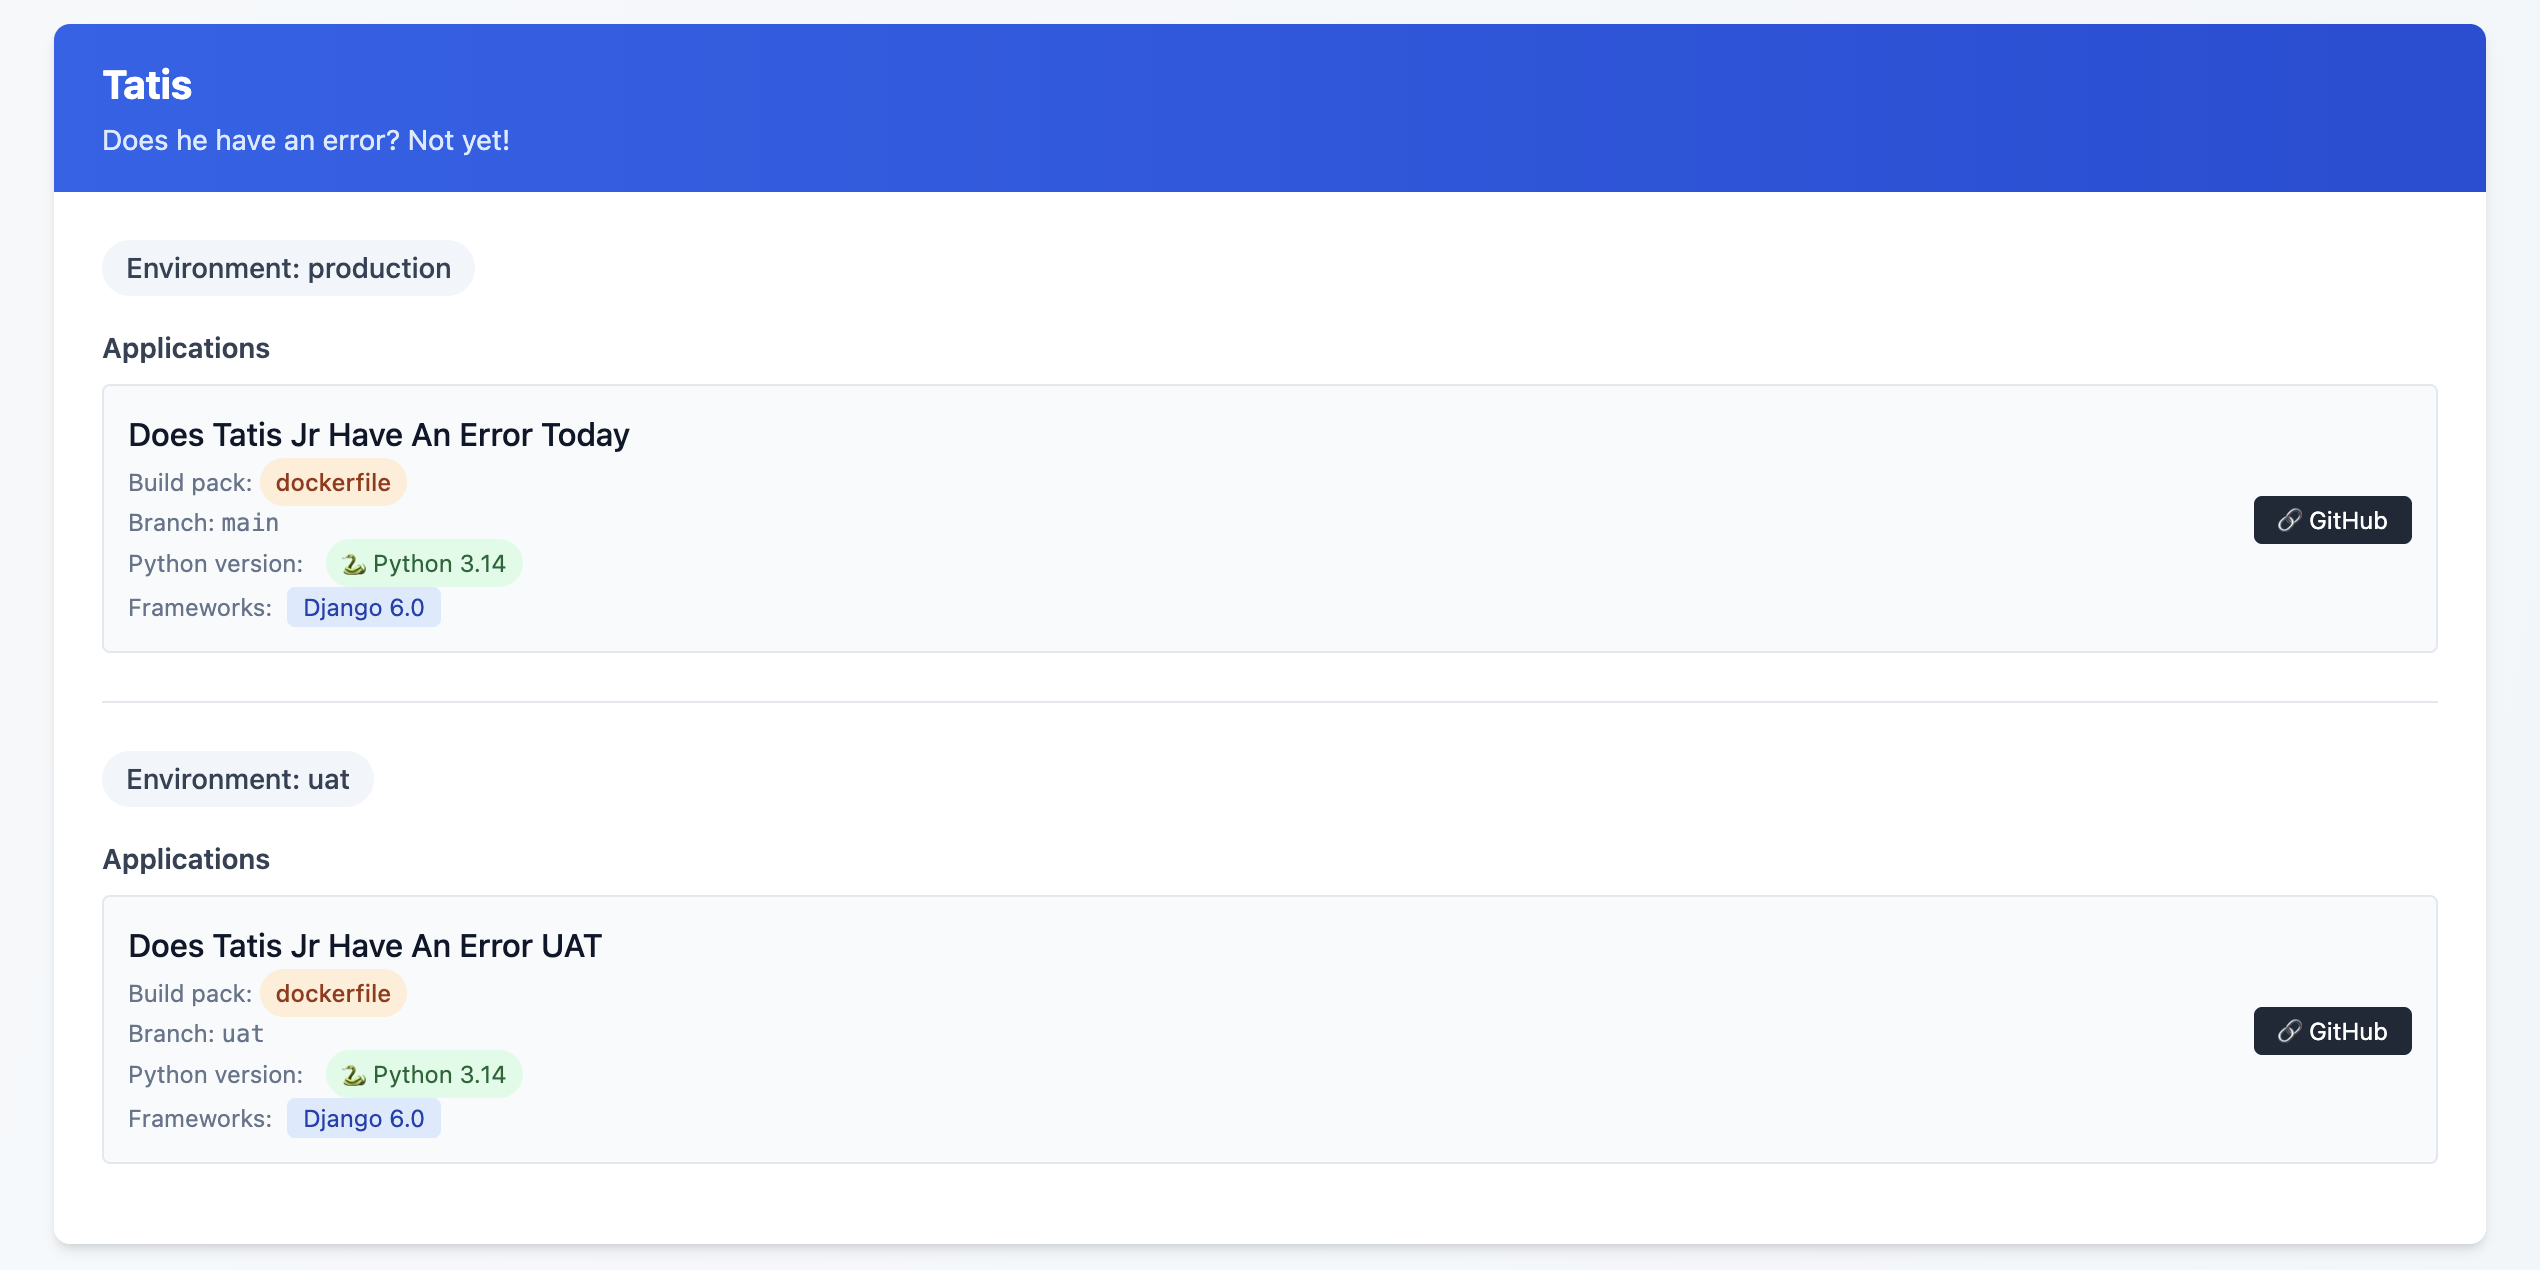
This is an example of the final state, but what I saw was some Sites on Django 4.2, others on Python 3.10 and ... yeah, it was a mess!
I might release this as a package or something at some point, but I'm not sure that anyone other than me would want to use it so, 🤷♂️
What this allows me to do now
One of the great features of Coolify are Preview Deployments which I've been able to implement relatively easily8. This allows me to be pretty confident that what I've done will work out OK. Even with a UAT server, sometimes just having that extra bit of security feels ... nice.
One thing I did (because I could, not because I needed to!) was to have a PR specific database on my UAT database server. Each database is called {project}_pr and is a full copy of my UAT database server. I have a cron job set up that restores these databases each night.
I used Claude to help generate the shell script below:
#!/bin/bash

# Usage: ./copy_db.sh source_db container_id [target_db]
# If target_db is not provided, it will be source_db_pr

source_db="$1"
container_id="$2"
target_db="$3"

# Validate required parameters
if [ -z "$source_db" ]; then
    echo "Error: Source database name required"
    echo "Usage: $0 source_db container_id [target_db]"
    exit 1
fi

if [ -z "$container_id" ]; then
    echo "Error: Container ID required"
    echo "Usage: $0 source_db container_id [target_db]"
    exit 1
fi

# Set default target_db if not provided
if [ -z "$target_db" ]; then
    target_db="${source_db}_pr"
fi

# Dynamic log filename
log_file="${source_db}_copy.log"

# Function to log with timestamp
log_message() {
    echo "$(date '+%Y-%m-%d %H:%M:%S') - $*" | tee -a "$log_file"
}

log_message "Starting database copy: $source_db -> $target_db"
log_message "Container: $container_id"

# Drop existing target database
log_message "Dropping database $target_db if it exists..."
if docker exec "$container_id" psql -U postgres -c "DROP DATABASE IF EXISTS $target_db;" >> "$log_file" 2>&1; then
    log_message "✓ Successfully dropped $target_db"
else
    log_message "✗ Failed to drop $target_db"
    exit 1
fi

# Create new target database
log_message "Creating database $target_db..."
if docker exec "$container_id" psql -U postgres -c "CREATE DATABASE $target_db;" >> "$log_file" 2>&1; then
    log_message "✓ Successfully created $target_db"
else
    log_message "✗ Failed to create $target_db"
    exit 1
fi

# Copy database using pg_dump
log_message "Copying data from $source_db to $target_db..."
if docker exec "$container_id" sh -c "pg_dump -U postgres $source_db | psql -U postgres $target_db" >> "$log_file" 2>&1; then
    log_message "✓ Successfully copied database"
else
    log_message "✗ Failed to copy database"
    exit 1
fi

log_message "Database copy completed successfully"
log_message "Log file: $log_file"
Again, is this strictly necessary? Not really. Did I do it anyway just because? Yes!
Was it worth it
Hell yes!
It took time. I'd estimate about 3 hours per Django site, and 1.5 hours per non-Django site. I'm happy with my backup strategy, and preview deployments are just so cool. I did this mostly over the Christmas / New Year holiday as I fought through a cold.
Another benefit of being on Coolify is that I'm able to run
What's next?
Getting everything set up to be mostly consistent is great, but there are still some differences that exist between each Django site that don't need to when it comes to the Dockerfile that each site is using.
I also see the potential to have better alignment on the use of my third party packages. Sometimes I chose package X because that's what I knew about at the time, and then I discovered package Y but never went back and switched it out where I was using package X before.
Finally, I really want to figure out the issue of https on some of the preview deployments.
- This is an affiliate link ↩︎
- This is an affiliate link ↩︎
- More details on why I have this site here ↩︎
- Considerations for Nixpacks. The default version of Python for Nixpacks is 3.11. You can override this with an environment variable
NIXPACKS_PYTHON_VERSIONto allow up to Python 3.13. ↩︎ - Here, you need to make sure that your ALLOWED_HOSTS is
hetzner.uat.doestatisjrhaveanerrortoday.com↩︎ - Do I need this set up? Probably not. I'm pretty sure there's a Datasette plugin that does allow for edits in the SQLite database, but this was more of a Can I do this, not I need to do this kind of thing ↩︎
- There are a few missing endpoints, specifically when it comes to Service database details ↩︎
- one of my sites doesn't like serving up the deployment preview with SSL, but I'm working on that! ↩︎
Adding Search to My Pelican Blog with Datasette
Last summer I migrated my blog from Wordpress to Pelican. I did this for a couple of reasons (see my post here), but one thing that I was a bit worried about when I migrated was that Pelican's offering for site search didn't look promising.
There was an outdated plugin called tipue-search but when I was looking at it I could tell it was on it's last legs.
I thought about it, and since my blag isn't super high trafficked AND you can use google to search a specific site, I could wait a bit and see what options came up.
After waiting a few months, I decided it would be interesting to see if I could write a SQLite utility to get the data from my blog, add it to a SQLite database and then use datasette to serve it up.
I wrote the beginning scaffolding for it last August in a utility called pelican-to-sqlite, but I ran into several technical issues I just couldn't overcome. I thought about giving up, but sometimes you just need to take a step away from a thing, right?
After the first of the year I decided to revisit my idea, but first looked to see if there was anything new for Pelican search. I found a tool plugin called search that was released last November and is actively being developed, but as I read through the documentation there was just A LOT of stuff:
- stork
- requirements for the structure of your page html
- static asset hosting
- deployment requires updating your
nginxsettings
These all looked a bit scary to me, and since I've done some work using datasette I thought I'd revisit my initial idea.
My First Attempt
As I mentioned above, I wrote the beginning scaffolding late last summer. In my first attempt I tried to use a few tools to read the md files and parse their yaml structure and it just didn't work out. I also realized that Pelican can have reStructured Text and that any attempt to parse just the md file would never work for those file types.
My Second Attempt
The Plugin
During the holiday I thought a bit about approaching the problem from a different perspective. My initial idea was to try and write a datasette style package to read the data from pelican. I decided instead to see if I could write a pelican plugin to get the data and then add it to a SQLite database. It turns out, I can, and it's not that hard.
Pelican uses signals to make plugin in creation a pretty easy thing. I read a post and the documentation and was able to start my effort to refactor pelican-to-sqlite.
From The missing Pelican plugins guide I saw lots of different options, but realized that the signal article_generator_write_article is what I needed to get the article content that I needed.
I then also used sqlite_utils to insert the data into a database table.
def save_items(record: dict, table: str, db: sqlite_utils.Database) -> None:  # pragma: no cover
    db[table].insert(record, pk="slug", alter=True, replace=True)
Below is the method I wrote to take the content and turn it into a dictionary which can be used in the save_items method above.
def create_record(content) -> dict:
    record = {}
    author = content.author.name
    category = content.category.name
    post_content = html2text.html2text(content.content)
    published_date = content.date.strftime("%Y-%m-%d")
    slug = content.slug
    summary = html2text.html2text(content.summary)
    title = content.title
    url = "https://www.ryancheley.com/" + content.url
    status = content.status
    if status == "published":
        record = {
            "author": author,
            "category": category,
            "content": post_content,
            "published_date": published_date,
            "slug": slug,
            "summary": summary,
            "title": title,
            "url": url,
        }
    return record
Putting these together I get a method used by the Pelican Plugin system that will generate the data I need for the site AND insert it into a SQLite database
def run(_, content):
    record = create_record(content)
    save_items(record, "content", db)

def register():
    signals.article_generator_write_article.connect(run)
The html template update
I use a custom implementation of Smashing Magazine. This allows me to do some edits, though I mostly keep it pretty stock. However, this allowed me to make a small edit to the base.html template to include a search form.
In order to add the search form I added the following code to base.html below the nav tag:
    <section class="relative h-8">
    <section class="absolute inset-y-0 right-10 w-128">
    <form
    class = "pl-4"
    <
    action="https://search-ryancheley.vercel.app/pelican/article_search?text=name"
    method="get">
            <label for="site-search">Search the site:</label>
            <input type="search" id="site-search" name="text"
                    aria-label="Search through site content">
            <button class="rounded-full w-16 hover:bg-blue-300">Search</button>
    </form>
    </section>
Putting it all together with datasette and Vercel
Here's where the magic starts. Publishing data to Vercel with datasette is extremely easy with the datasette plugin datasette-publish-vercel.
You do need to have the Vercel cli installed, but once you do, the steps for publishing your SQLite database is really well explained in the datasette-publish-vercel documentation.
One final step to do was to add a MAKE command so I could just type a quick command which would create my content, generate the SQLite database AND publish the SQLite database to Vercel. I added the below to my Makefile:
vercel:
    { \
    echo "Generate content and database"; \
    make html; \
    echo "Content generation complete"; \
    echo "Publish data to vercel"; \
    datasette publish vercel pelican.db --project=search-ryancheley --metadata metadata.json; \
    echo "Publishing complete"; \
    }
The line
datasette publish vercel pelican.db --project=search-ryancheley --metadata metadata.json; \
has an extra flag passed to it (--metadata) which allows me to use metadata.json to create a saved query which I call article_search. The contents of that saved query are:
select summary as 'Summary', url as 'URL', published_date as 'Published Data' from content where content like '%' || :text || '%' order by published_date
This is what allows the action in the form above to have a URL to link to in datasette and return data!
With just a few tweaks I'm able to include a search tool, powered by datasette for my pelican blog. Needless to say, I'm pretty pumped.
Next Steps
There are still a few things to do:
- separate search form html file (for my site)
- formatting
datasetteto match site (for my vercel powered instance ofdatasette) - update the README for
pelican-to-sqlitepackage to better explain how to fully implement - Get
pelican-to-sqliteadded to the pelican-plugins page
Prototyping with Datasette
At my job I work with some really talented Web Developers that are saddled with a pretty creaky legacy system.
We're getting ready to start on a new(ish) project where we'll be taking an old project built on this creaky legacy system (VB.net) and re-implementing it on a C# backend and an Angular front end. We'll be working on a lot of new features and integrations so it's worth rebuilding it versus shoehorning the new requirements into the legacy system.
The details of the project aren't really important. What is important is that as I was reviewing the requirements with the Web Developer Supervisor he said something to the effect of, "We can create a proof of concept and just hard code the data in a json file to fake th backend."
The issue is ... we already have the data that we'll need in a MS SQL database (it's what is running the legacy version) it's just a matter of getting it into the right json "shape".
Creating a 'fake' json object that kind of/maybe mimics the real data is something we've done before, and it ALWAYS seems to bite us in the butt. We don't account for proper pagination, or the real lengths of data in the fields or NULL values or whatever shenanigans happen to befall real world data!
This got me thinking about Simon Willison's project Datasette and using it to prototype the API end points we would need.
I had been trying to figure out how to use the db-to-sqlite to extract data from a MS SQL database into a SQLite database and was successful (see my PR to db-to-sqlite here)
With this idea in hand, I reviewed it with the Supervisor and then scheduled a call with the web developers to review datasette.
During this meeting, I wanted to review:
- The motivation behind why we would want to use it
- How we could leverage it to do Rapid Prototyping
- Give a quick demo data from the stored procedure that did the current data return for the legacy project.
In all it took less than 10 minutes to go from nothing to a local instance of datasette running with a prototype JSON API for the web developers to see.
I'm hoping to see the Web team use this concept more going forward as I can see huge benefits for Rapid Prototyping of ideas, especially if you already have the data housed in a database. But even if you don't, datasette has tons of tools to get the data from a variety of sources into a SQLite database to use and then you can do the rapid prototyping!
My First Python Package
A few months ago I was inspired by Simon Willison and his project Datasette and it’s related ecosystem to write a Python Package for it.
I use toggl to track my time at work and I thought this would be a great opportunity use that data with Datasette and see if I couldn’t answer some interesting questions, or at the very least, do some neat data discovery.
The purpose of this package is to:
Create a SQLite database containing data from your toggl account
I followed the tutorial for committing a package to PyPi and did the first few pushes manually. Then, using a GitHub action from one of Simon’s Datasette projects, I was able to automate it when I make a release on GitHub!
Since the initial commit on March 7 (my birthday BTW) I’ve had 10 releases, with the most recent one coming yesterday which removed an issue with one of the tables reporting back an API key which, if published on the internet could be a bad thing ... so hooray for security enhancements!
Anyway, it was a fun project, and got me more interested in authoring Python packages. I’m hoping to do a few more related to Datasette (although I’m not sure what to write honestly!).
Be sure to check out the package on PyPi.org and the source code on GitHub.